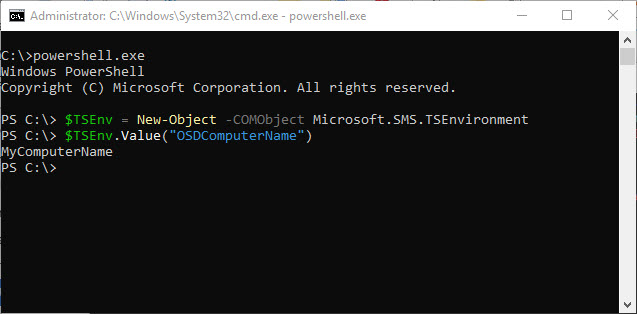
If you have worked with SCCM/ConfigMgr Task Sequences for any length of time, you’ve likely needed to debug them. Many times, you need to check the value of a Task Sequence variable. The generally accepted approach is to add a Run Command Line step to your Task Sequence and run ServiceUI.exe like this: ServiceUI.exe -process:TSProgressUI.exe cmd.exe This approach is great if you planned ahead and you are in a test Task Sequence.
This is Part 5 in my Configuring 802.1x Authentication for Windows Deployment series. Be sure to check out all of the other parts. A few months ago, when I published the first 4 parts on this series, I was unaware that there was a web service available for managing Cisco ISE, which is the NAC that I have to work with in my environment. I was fortunate to meet with a peer who works nearby and he shared a script demonstrating how to interact with the Cisco ISE External RESTful Service (ERS) to dynamically whitelist devices when WinPE starts for Bare Metal OSD and inside an SCCM/ConfigMgr Task Sequence for In-Place upgrades.
The more I dig in to SCCM/ConfigMgr, the more cool things I find. Every time I read a new post blog about things people have done with their Task Sequences, I get inspired to try more things. One of those things is setting Task Sequence variable values from the output of a script. At this point, I’m sure we’ve all read and re-read Gary Blok’s Waas posts and picked up a few tricks, I know I have.
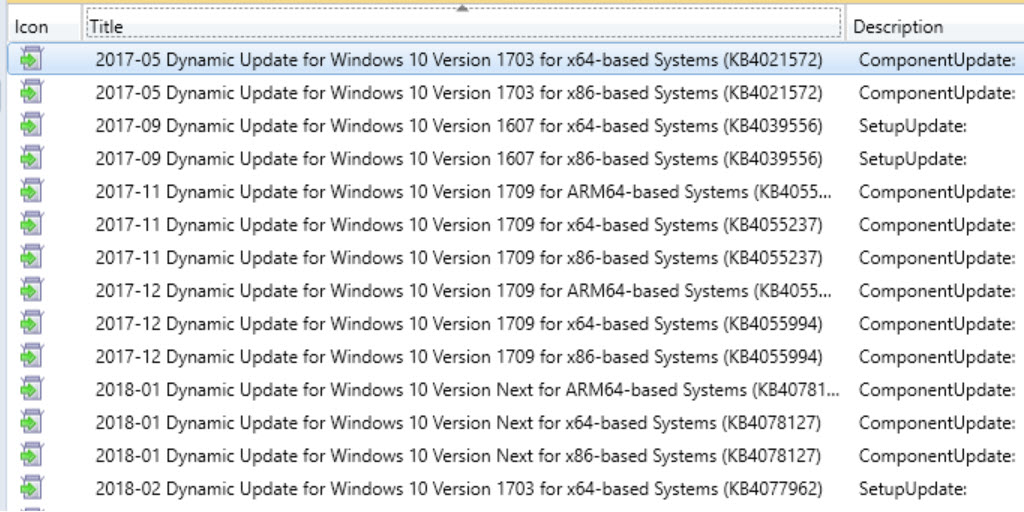
For the past few months, there has been a community-wide push to determine the optimal approach for Offline Servicing Windows 10 media and to get Microsoft to take on more of this burden so we can get on with other tasks instead of dealing with servicing every month. Ultimately, Microsoft needs a better process for updating media each month, but until they do, all we can do is what we do best, Socially Engineer solutions.
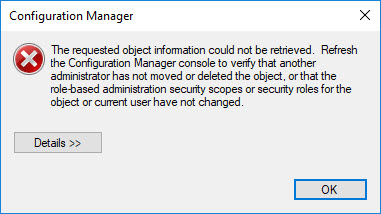
I found this issue today and hope to get some help from the ConfigMgr team on it but figured it was worth writing up the workaround for now. The Issue While attempting to perform a user state backup on a machine using an SCCM task sequence, we received the error in SMSTS.LOG: Failed to decrypt state encryption key (0x80070057) Failed to run the action: Request User State Storage. The parameter is incorrect.
Update 10/1/2018 - Check out my latest post Part 5 below. You may be able to skip all of the other stuff!! The Links first so you don’t have to scroll so far. These are also on the menu at top for easy access. Since I ended up with so much content for this topic, I felt that it warranted a landing page. Hopefully you will be able to easily navigate through these topics and find some useful nuggets to save yourself some headaches down the road.
This is the Tips and Tricks section of my Configuring 802.1x Authentication for Windows Deployment series. Be sure to check out all of the other parts here. These are just some random things I found while going through this. File and Registry Locations Profiles C:\ProgramData\Microsoft\dot3svc\Profiles HKEY_LOCAL_MACHINE\SOFTWARE\Microsoft\dot3svc Policies C:\Windows\dot3svc\Policies*.TMP (rename TMP to XML to see the Policy and Profile) HKEY_LOCAL_MACHINE\SOFTWARE\Policies\Microsoft\Windows\WiredL2\GP_Policy Migration Data C:\ProgramData\Microsoft\dot3svc\MigrationData HKEY_LOCAL_MACHINE\SOFTWARE\Microsoft\dot3svc\MigrationData Quickly Remove 802.1x Group Policy for Testing Rename the .
This is Part 4 in my Configuring 802.1x Authentication for Windows Deployment series. Be sure to check out all of the other parts here. Quick Note About Cisco Switch Firmware If you’ve made it this far, a word of caution. Make sure that your switch firmware is matched to the version required by ISE. I spent several weeks working with our Security and Networking guys to troubleshoot and discovered that our switches weren’t at the required version for ISE 2.
This is Part 3 in my Configuring 802.1x Authentication for Windows Deployment series. Be sure to check out all of the other parts here. You will need all of the files you created in Part 1 for this part. During a Bare Metal/Wipe & Load OSD Task Sequence, the Task Sequence will start in WinPE and copy down the OS installation files. Once Windows as been installed, the Task Sequence will boot out of WinPE and into the new OS.
This is Part 2 in my Configuring 802.1x Authentication for Windows Deployment series. Be sure to check out all of the other parts here. Note: I don’t have 802.1x setup in a lab to show how to configure the 802.1x service on the server side. However, I do know that you will need to configure your 802.1x service to allow PXE traffic. I believe that Cisco ISE has a setting already that you can just turn on to allow it.


